- Using Heading Block
- Buttons
- Post Grid
- Content Timeline
- Social Share
- Google Map
- Add Testimonials
- Info Box
- Team
- Icon List
- Price List
- Post Masonry
- Post Carousel
- Post Timeline
- Call To Action
- Advanced Columns
- Blockquote
- Marketing Button
- Table Of Contents
- How-to Schema
- FAQ’s: Schema/Accordion
- Inline Notice
- WP – Search
- Review Schema
- Lottie
- Taxonomy List
- Tabs Block
- Create Contact Forms
- Star Rating
- Masonry Image Gallery
- Wireframe Blocks
- Heading Block
- Image Block
- Buttons Block
- Translate Everything WPML
- Container Block
- Taxonomy Styling Options
- Block Presets
- Image Gallery
- Counter Block
- Modal Block
- Registration Form Block
- Slider Block
- Pagel Level Custom CSS
- Countdown Pro
- Slider Custom Navigation
- Instagram Feed
- Loop Builder
- Animations
- Login Form Block
- Global Block Style Extension
- Create Popups
- Custom Blocks
- Move Block Patterns
- Grid Builder
- Newsletter Forms
- Register High-Privileged Users
- Hide Core Blocks
- Getting Started with Instagram
- Advanced Loop Builder
- Section
- Troubleshooting: Missing Icons
- Spectra Patterns
- Contact Form 7: Multiple Column Fields
- Contact Form 7: Checkbox / Radio / Acceptance Control
- Unable To Style Contact Form 7
- Tab Index For Multiple Gravity Forms
- Getting Started With Spectra
- Exclude Heading From TOC
- Block Display Conditions
- Importing Starter Templates With Spectra
- Getting Started With Spectra
- Manually Install Spectra Via FTP
- Automatic Beta Updates
- Rollback To Previous Versions
- Load Google Fonts Locally
- Activate Spectra Pro License
- Install Spectra Pro
- Translate Strings With Loco Translate
- Process Refund Requests
- Transparent / Sticky Header
- Change Site Logo
- Change Global Styles
- Disable Title on Posts & Pages
- Transparent / Sticky Header For Single Page / Post
- Change Header & Footer Patterns
- Custom / Google Fonts
- Reset Global Default Styling
- Manually Install Spectra One Via FTP
- Enable / Disable Header & Footer On Specific Pages / Posts
Icon List
In the world of websites, engaging the people and conveying the information effectively is important. That’s where the Icon List Block comes in. It’s a clever mix of icons and lists that makes information stand out and easy to understand.
Spectra’s Icon list block is excellent for showcasing the key features of a product or service. Imagine you’re introducing a new product or a feature on your website.
In such a case, you can use the Spectra icon list block to outline its functionalities, with each feature accompanied by a relevant icon.
This not only grabs the reader’s attention but also provides a quick understanding of what you are offering.
Want to know more about the Icon List Block? Just check out the next parts of this guide. We will show you exactly how to use this awesome feature on your own website.
Where Can I Use the Spectra Icon List Block
Whether you want to present a new product or service on your website or help people with step-by-step guidelines, the Spectra Icon List Block is here to help. Let us get into how awesome this block can be:
Feature Highlights: Icon list blocks are excellent for showcasing the key features of a product. Imagine you’re introducing a new product on your website
You can use an icon list block to outline its functionalities, with each feature accompanied by a relevant icon.
This not only grabs the reader’s attention but also provides a quick understanding of what product you offer.
Service Offerings: If you have a business that offers a range of services, an icon list block can neatly present each service along with a description.

This way, things become easier to understand, especially when you have a bunch of cool services to offer. It helps people quickly find the services that match what they are looking for.
Process Steps: When you are explaining a multi-step process, an icon list block can break down each stage visually. This is particularly useful in instructional content or guides.
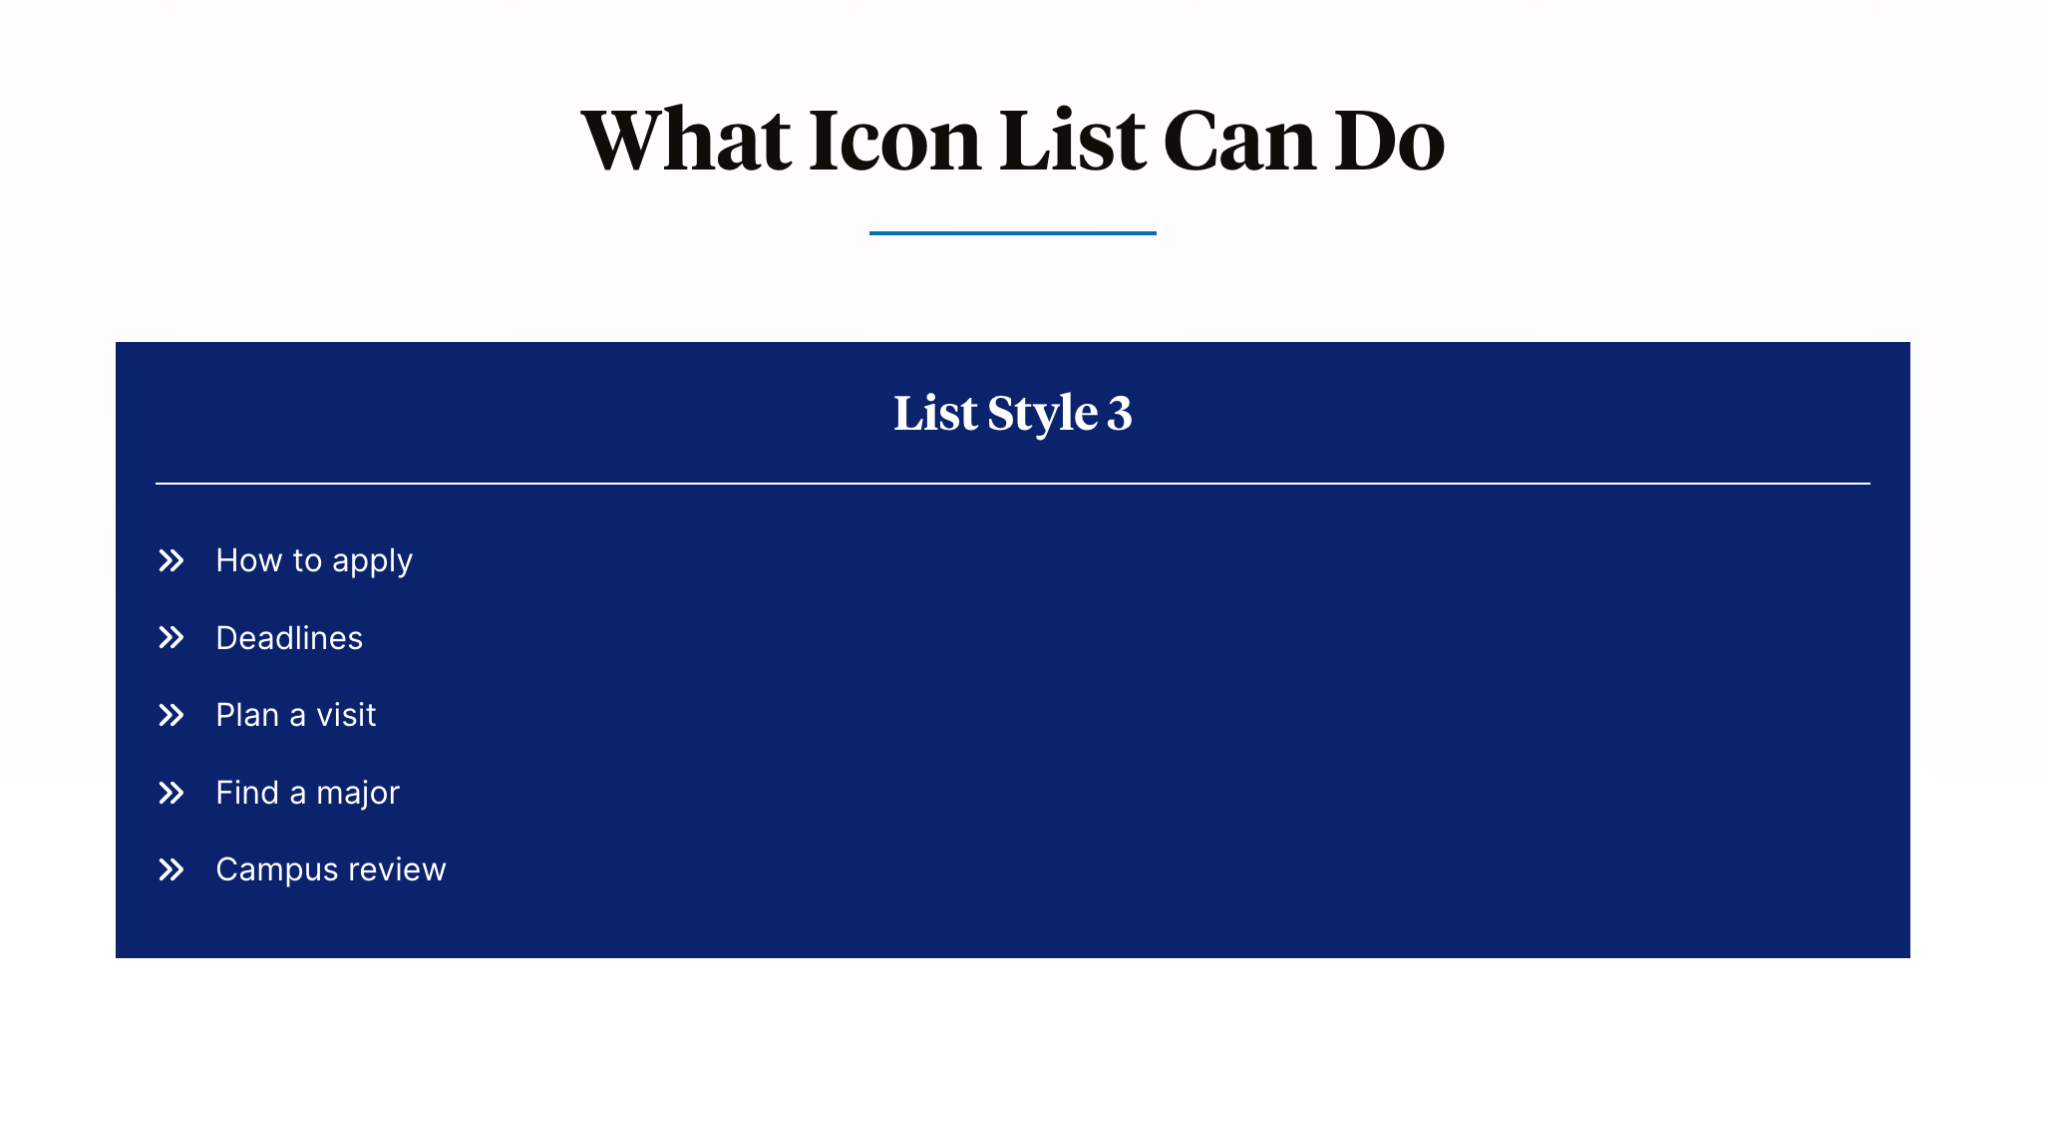
For instance, if you are working on a cooking blog, then you can use an icon list block to outline the steps of a recipe, with icons representing each cooking stage.
How to Use Spectra Icon List Block
Now, you understand the concept of the Spectra Icon List Block. So, let us get started to use this block on your website.
Note that for this tutorial, we’ll assume you already have Spectra installed and activated on your website.
Once you have Spectra installed on your site, you can simply follow the steps below.
Add the Icon List Block
To get started, navigate to the page or post where you want to insert the icon list block. Then, click on the + icon at the top of the screen.
This will launch the Spectra interface. From the blocks on the left, search for and select the Icon List block.
Set up your Icon Lists
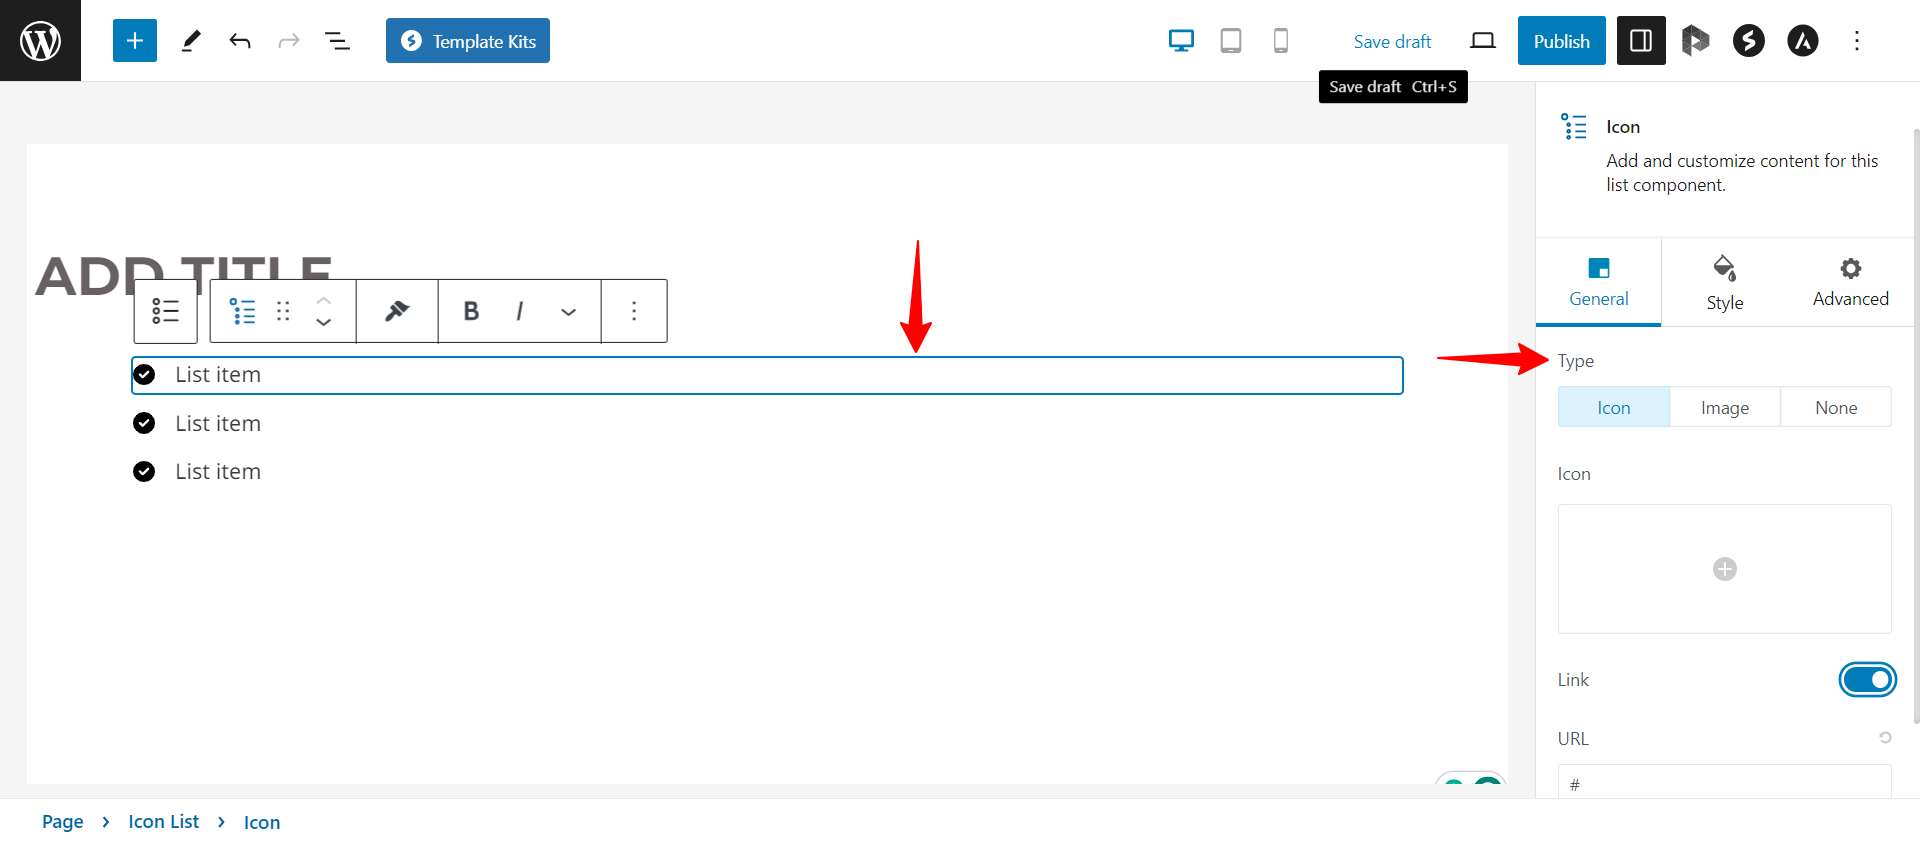
After adding the block, you can select the icon of your choice from the available options in the Icon tab.
By clicking the list item, you can see the setting tab for each list item. Under every Icon Settings tab, you will get an option to choose an icon or image.
For both icons and images, a URL option is available so you can redirect people to any specific webpage when they click on the specific list item.
Also, you can manage the size of the icon/image from the General tab.
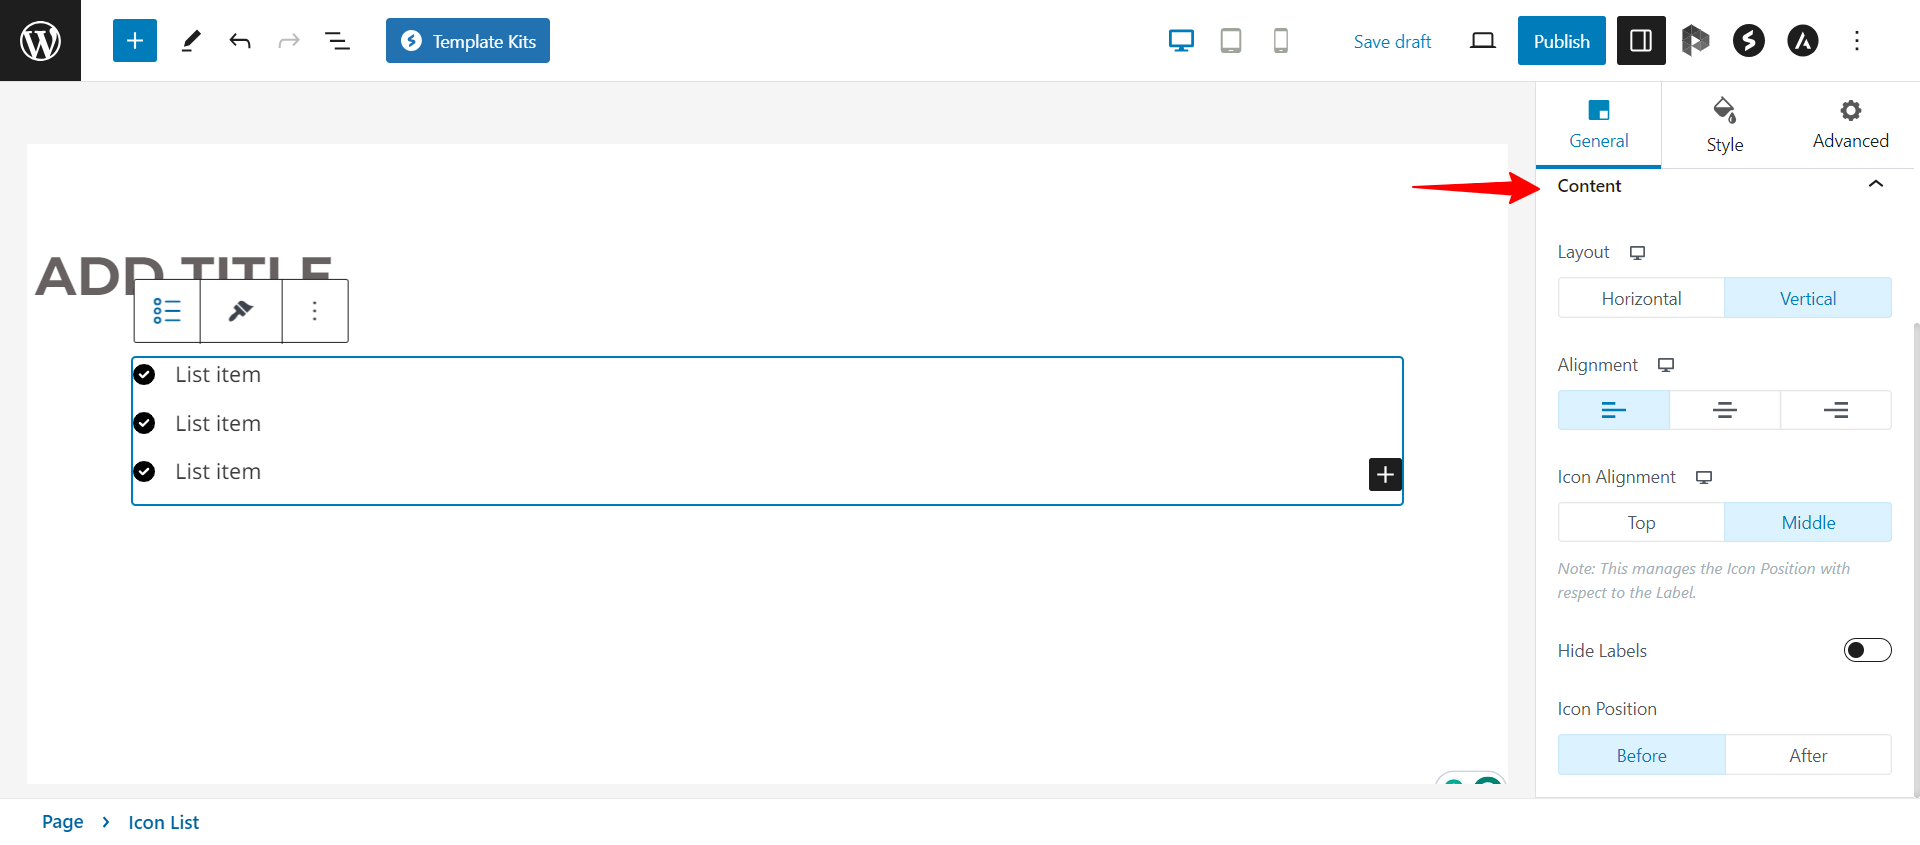
Setup Content Layout
For the icon list, under the General tab, you’ll find a neat feature: Layout options. You can choose whether you want your icons and text to line up horizontally or vertically.
This choice lets you customize the way your content looks, making sure it matches your style and gets your message across just the way you want.
Styling Your Icon Lists
You can also try the available styling options to see how you can create an icon list that’s super cool and matches your website design.
Here are a few styling options that are available in the Spectra Icon List block.
Icon Size and Color:
You can play around with the size and colors of your icons to make them fit right in with your design. Bigger icons can really catch the eye, and colors can make everything look balanced or really stand out.
Text Formatting:
You can have some fun with fonts, sizes, and colors for your text to make it stand out! Try bold or italics to highlight stuff, and use different colors to separate icons from list items.
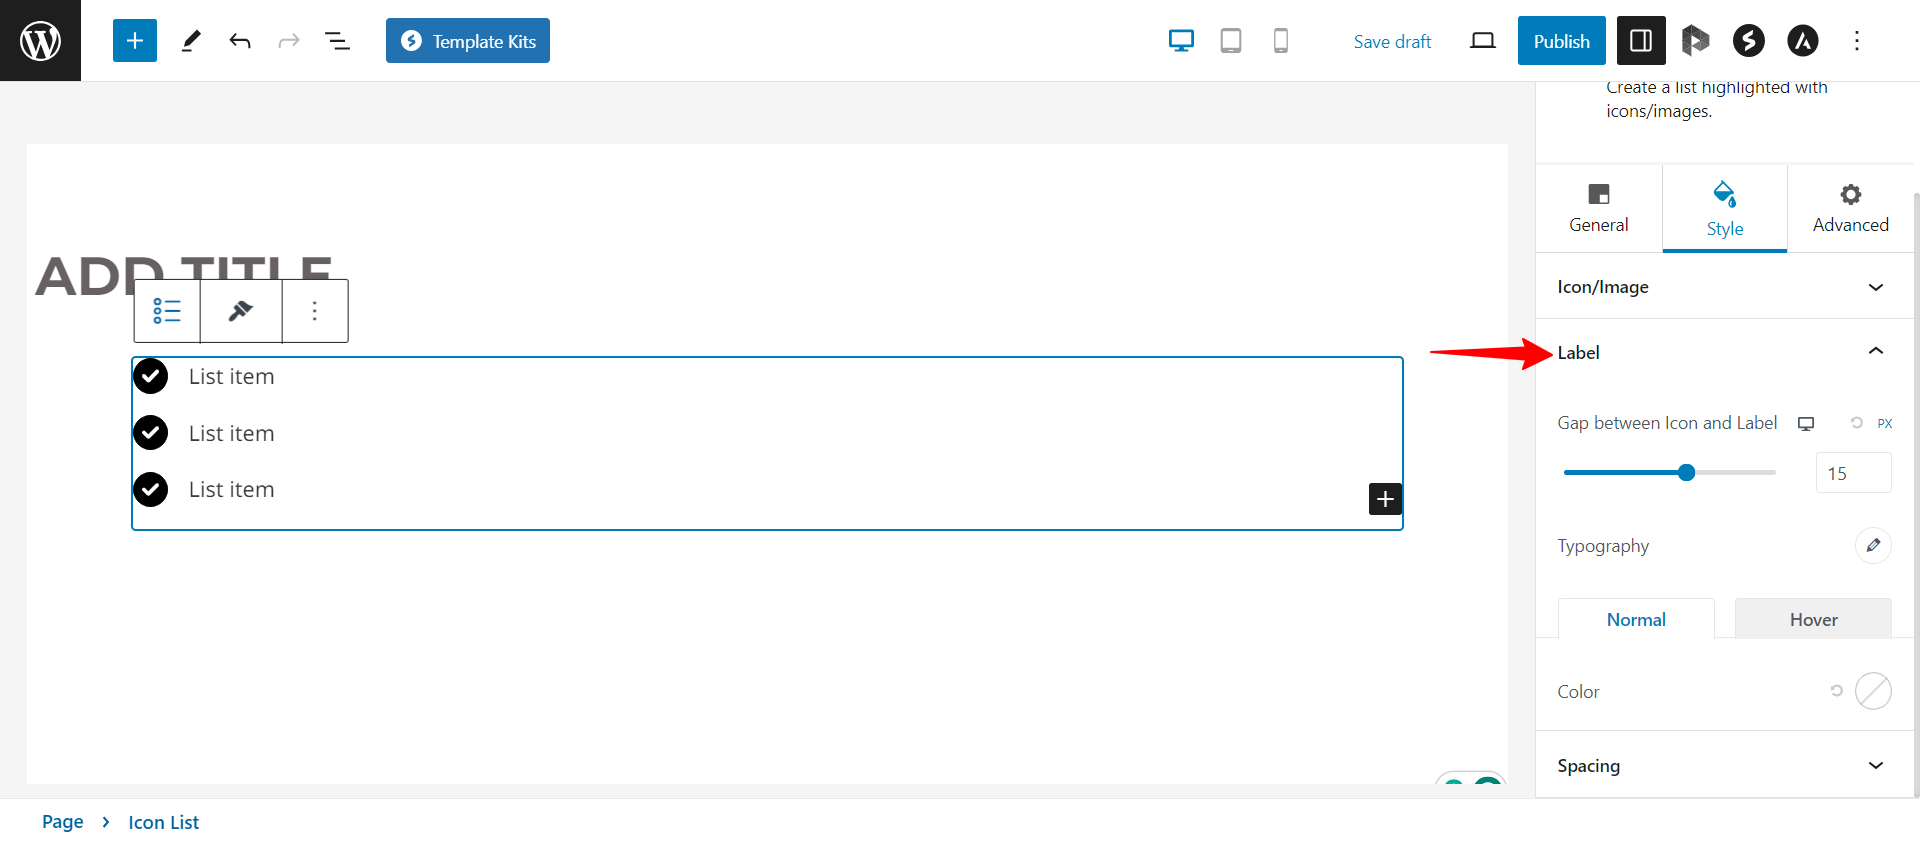
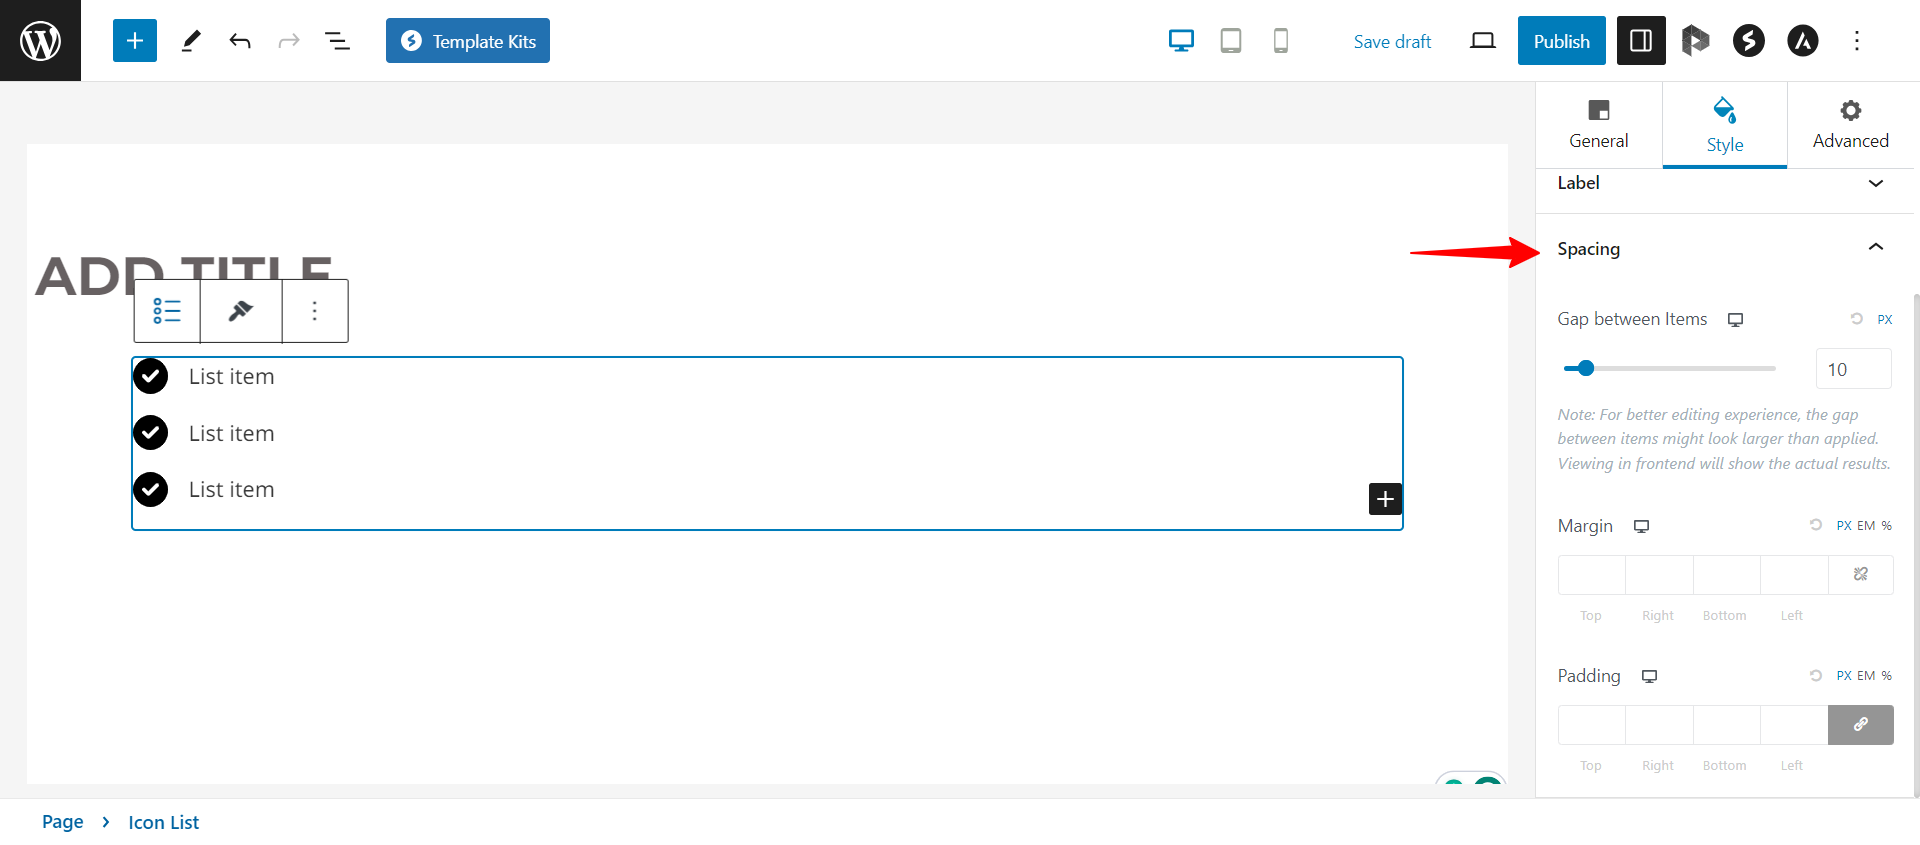
Spacing and Alignment:
You can adjust the space between icons and text to make it look just right. And you can also align your icons and text to the left, center, or right – whatever suits your style.
Save and Publish Your Page
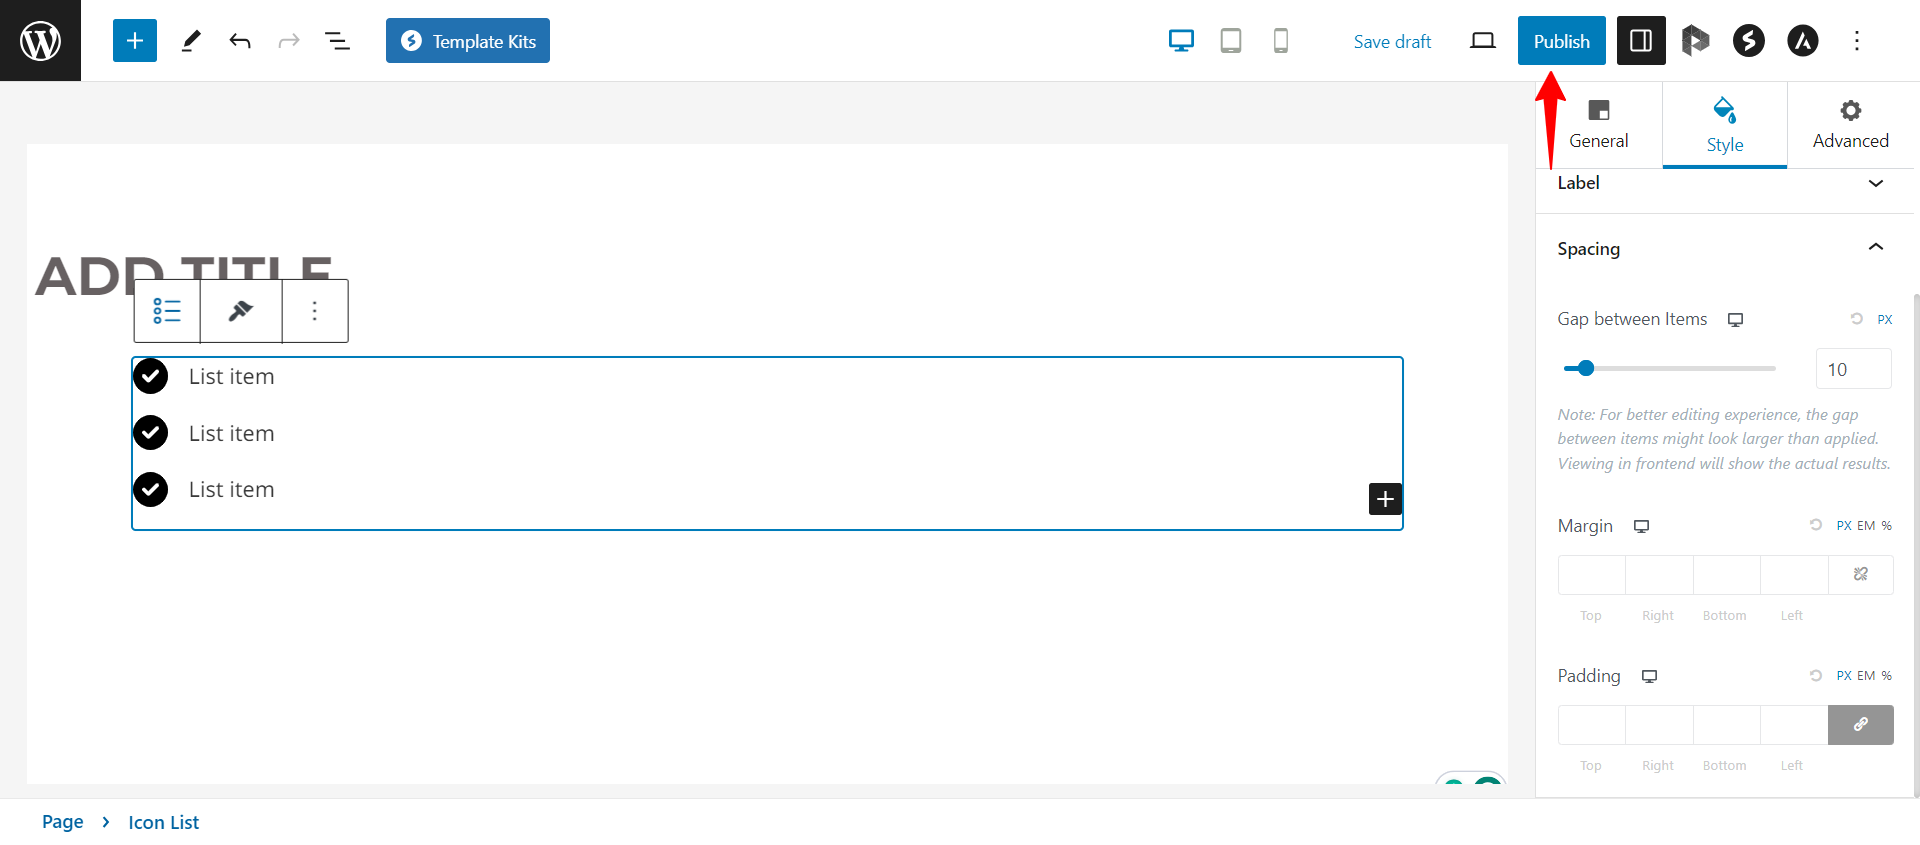
When you’re satisfied with the look and contents of your Spectra Icon Lists, the only thing left to do is to save and publish it.
You can do so by clicking the Publish button at the top right side of the screen.
That’s it!
Then you can preview your page or post on the front end to confirm that it looks as you want it to.
We hope this article has been helpful. If you have any questions, please feel free to leave a comment below.
We don't respond to the article feedback, we use it to improve our support content.